Sure, the gown is a bride’s obvious show-stopper, but romantic hair and a radiant face complete the dream-day ensemble. Utah is blessed with talented and trustworthy hair and makeup gurus, but what if you just want to do it on your own? We get it. Juan Gutierrez-Naim and Rina Mackenzie—the dream team of Salt Lake’s Estilo Brow & Hair Salon—showcase their favorite DIY looks, all achievable with a little practice and expert-tested product.
First step? Plan ahead. “Don’t wait until the last minute. Do a trial run weeks before the wedding and take a few selfies to see if you like it,” Gutierrez-Naim suggests. Color one to two weeks before, says the hair color expert. “The color can settle, and you can tweak if you need to. It takes a week to look perfect.”
Next, decide on the look. Outdoor summer weddings call for more relaxed looks than, say, a formal cathedral wedding. Either way, Gutierrez-Naim says, “Go for something youthful and easy.”
Gather your tools and start with clean, dry hair. “You know when your hair is at it’s best,” Gutierrez-Naim says. “If you have oily hair, wash that morning. For dry hair, second or third-day hair is best.” Assemble hair clips, salon-quality shampoo and conditioner, ash toner (for blondes), volumizer (for fine hair) and heat protectant. On the wedding day, start by spraying the hair roots with dry shampoo to add texture. “You always want volume on the crown before you start. And part on one side. Symmetry is too harsh for most face shapes.”
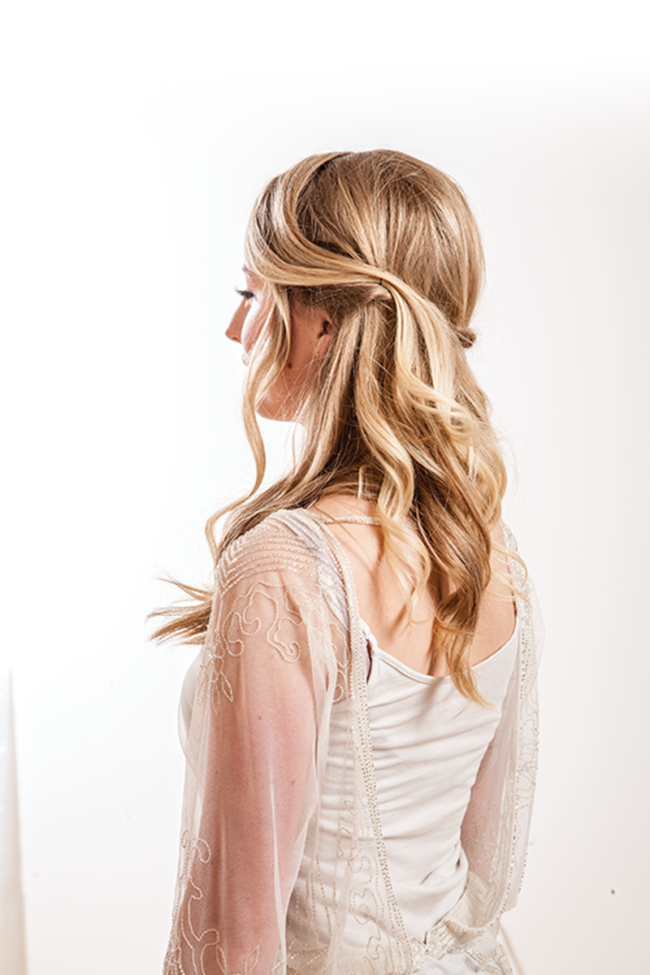
DIY look #1:
Side Swept Down
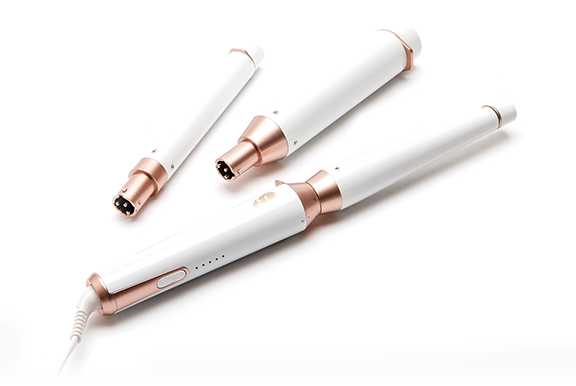
Step 1: Curl away from the face. A good rule of thumb for curling hair is to grab a section of the hair the size of the barrel of the iron.
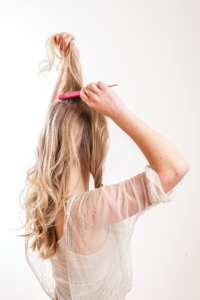
Step 2: Approximately 2 to 3 inches from the roots, use an inexpensive 3-row teasing comb to tease the crown of your head. “But don’t go too crazy,” Gutierrez-Naim adds.
Step 3: Try pancaking. And we’re not talking about breakfast. From the front of the face, section off and clip into sections. Twist each section, hold hair end, then with thumb and pointer finger, tease from the roots to the scalp.
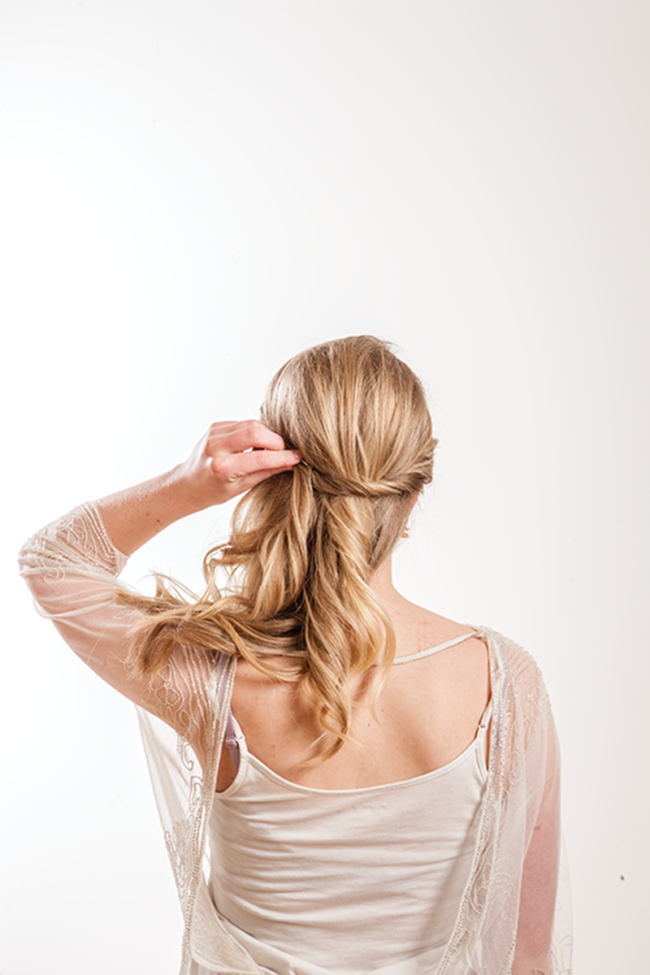
Step 4: Pin sections as needed. Spray with sea-salt spray. Loosely pin or leave hanging. Add flowers or comb or even curl it into an updo.
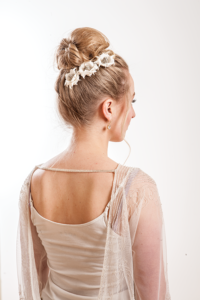
Simple High Bun
Step 1: Start with DIY Look #1. Add styling hair powder and pull hair into a high ponytail, leaving some wispy strands around the face.
Step 2: Separate a one-fourth piece of the ponytail and clip toward face.
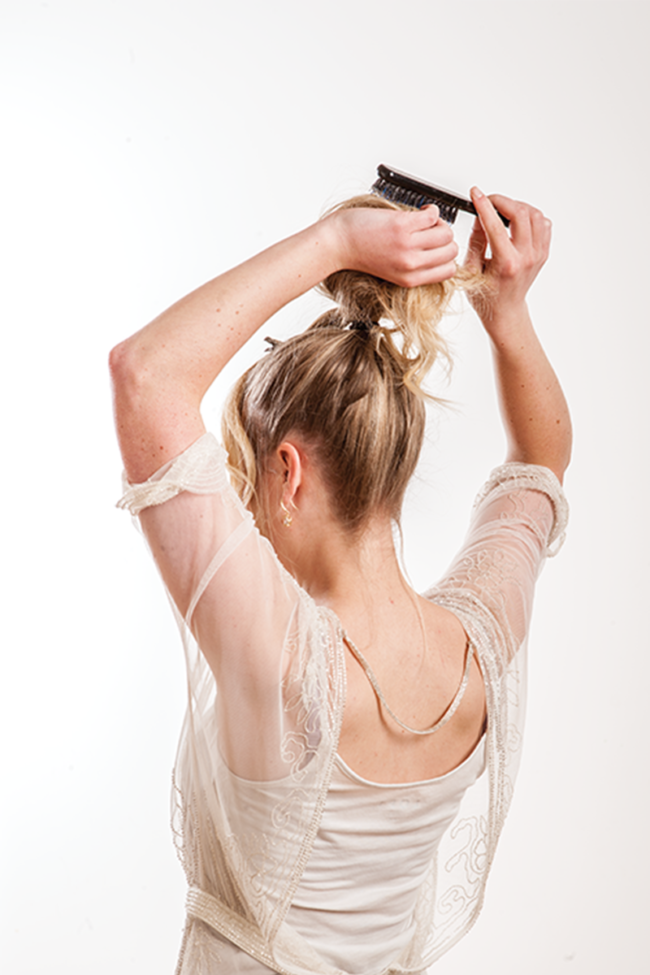
Step 3: Vigorously tease the ponytail hair, then curl under to arrange as a bun. “It doesn’t have to be perfectly round,” Gutierrez-Naim says.

Step 4: Unclip the one-fourth piece, braid, place around the bun’s base, pin.
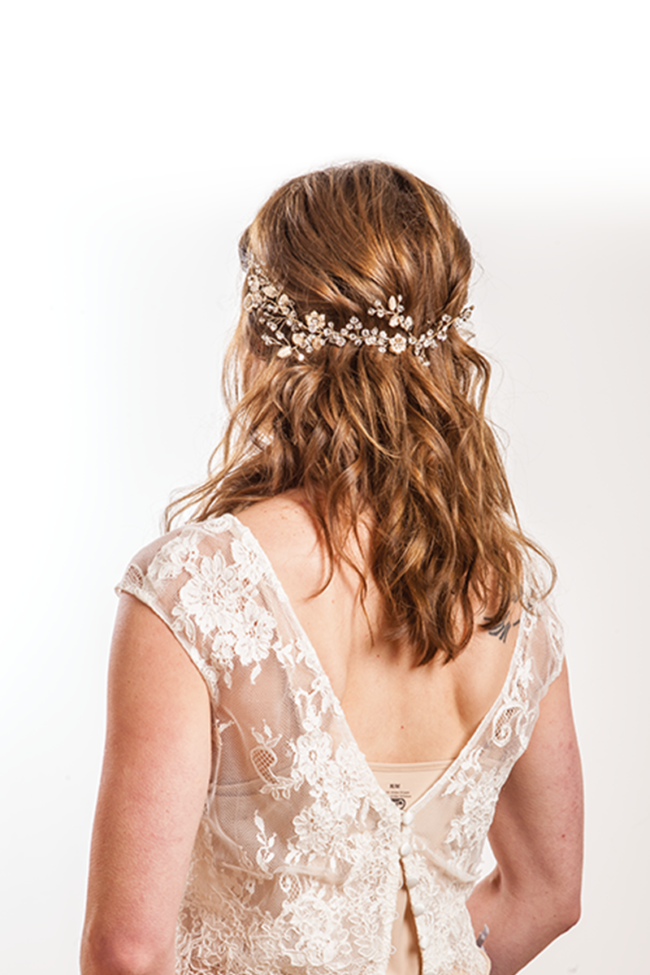
DIY Look #3:
Romantic Braids
Step 1: Start with DIY Look #1. “I’m using a smaller barrel iron here because her hair is more fine,” Gutierrez-Naim says.

Step 2: Braid a single loose inverted French braid on each side of your head. Pin.
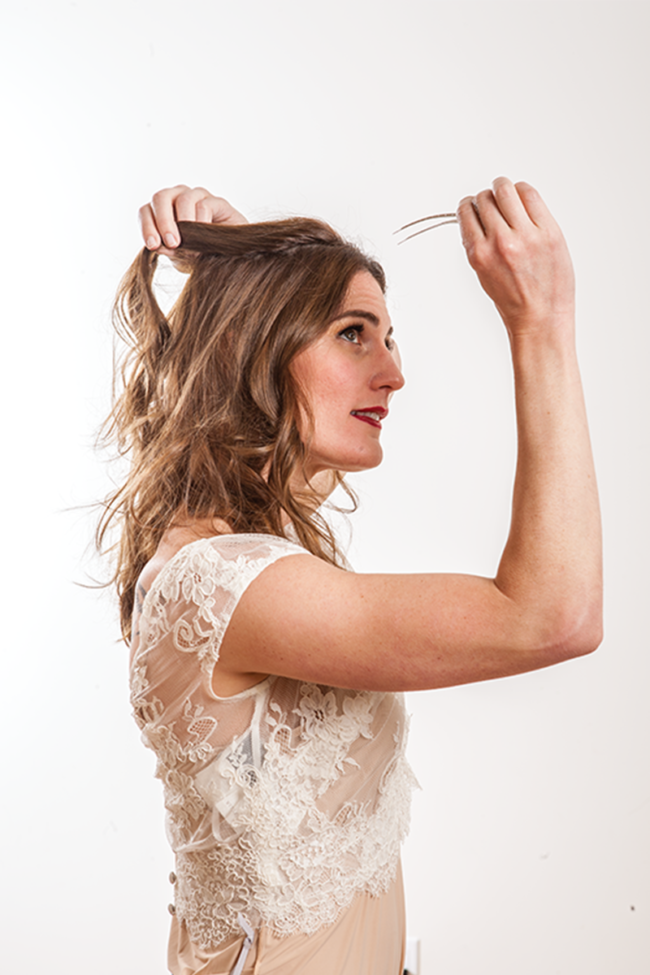
Step 3: You can stop there or add a crown or fresh flowers.
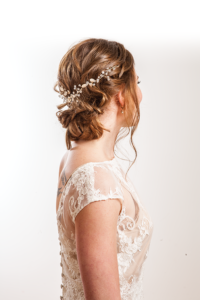
DIY Look #4:
Braided Chignon
Step 1: Start with DIY Look #1. Separate your hair into three top-to-bottom sections—one on each side and one in back.
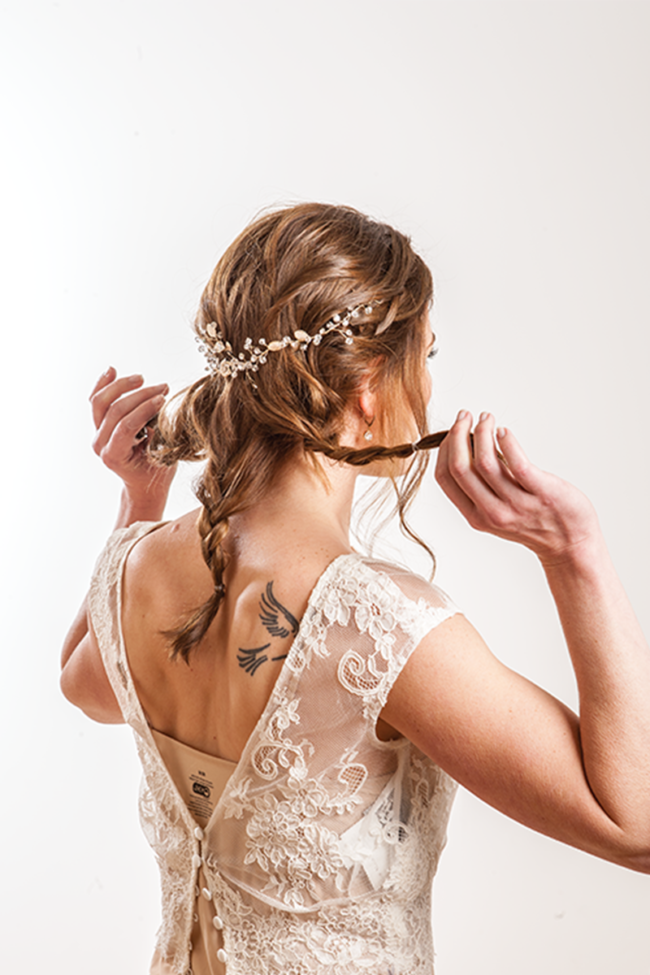
Step 2: Loosely braid each section. Use texture spray and pancake each braid.
Step 3: Take the middle one, turn under, pin.
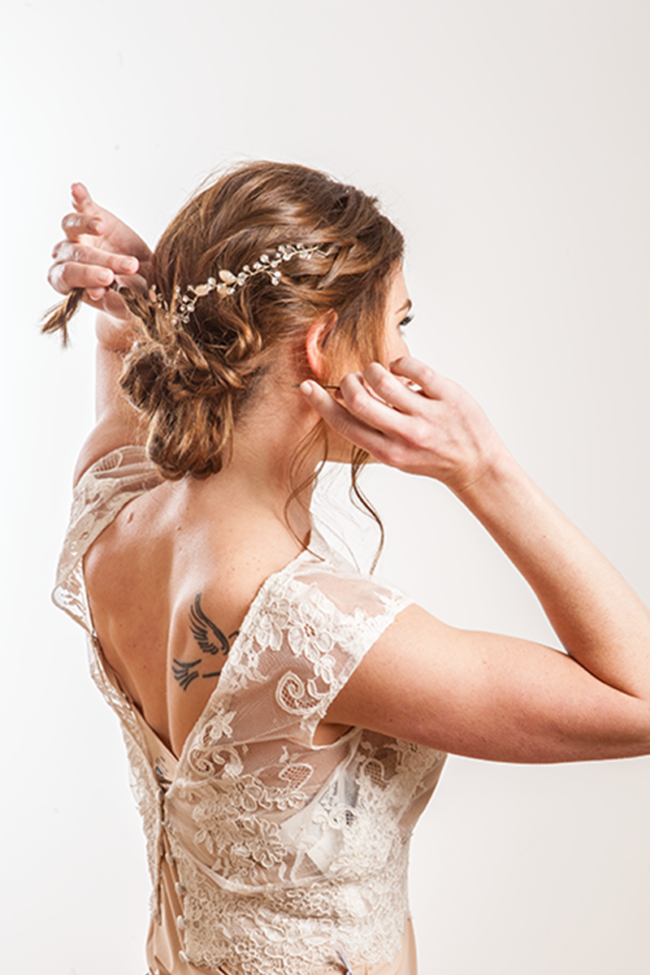
class=”p3″>Step 4: Fold the outer braids inside. Turn upside down. Pin.
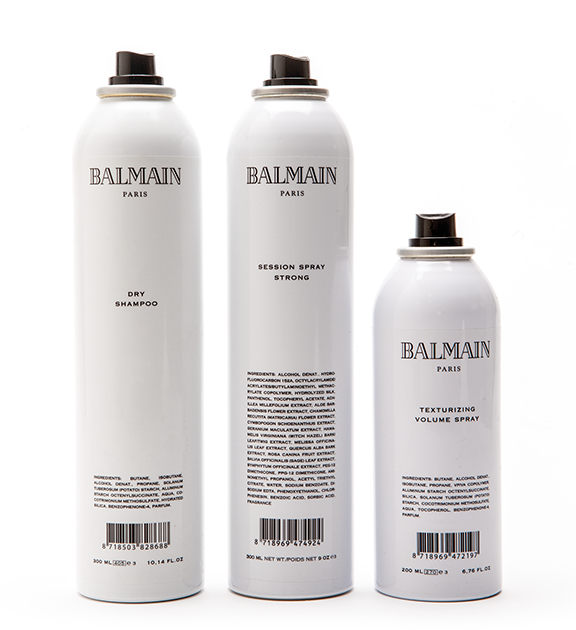
Bonus Tip:
Splurge on hair products like those in Balain’s line for long-lasting hol, healthy glow and clean smelling hair. Available at Estilo Brow & Hair Salon, SLC.
Want to see more? Check out our magazine!


